
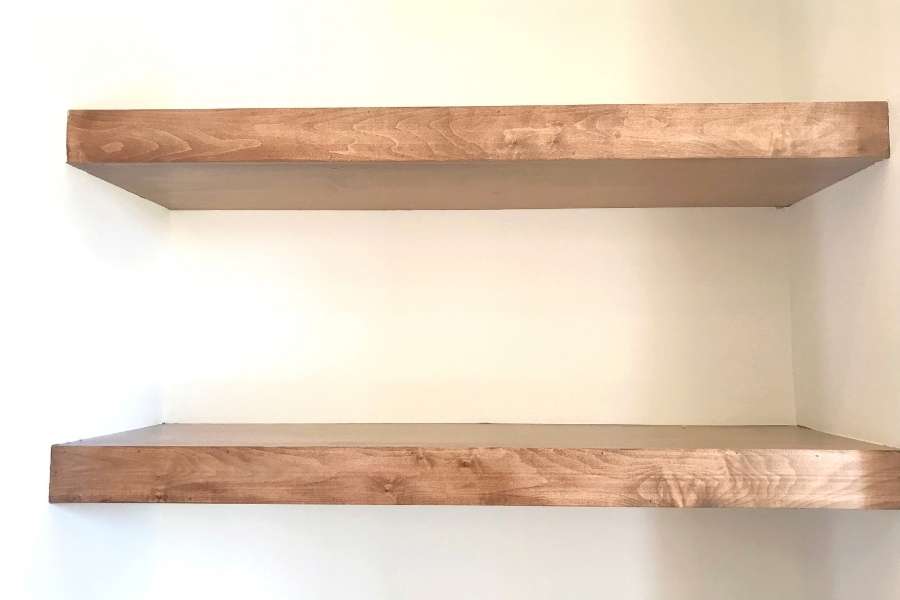
Are you tired of looking at plain empty walls? You can build own wooden floating shelves at home today. Making custom wall displays adds instant warmth to your room. It also gives you total control over dimensions and colors. You do not need years of trade experience for this project. Clean modern shelving is simple to assemble with basic tools. Start with a reliable power drill and a digital stud finder. Grab a spirit level, measuring tape, and wood screws. Choosing a smooth pine board keeps material costs very low. Pine provides great stability and handles finishes with ease.
1. Build a Hidden Timber Cleat Base
The hidden timber cleat design delivers amazing structural stability. This classic woodworking method uses an internal wood frame. You screw the back support beam straight into wall studs. A hollow outer sleeve slides right over the interior frame. Learning how to build sturdy wooden floating shelves at home keeps your books safe. Solid frame attachment prevents bowing under weight. Many homeowners love self-installation projects, much like evaluating a DIY solar panel installation to see if the personal effort matches the practical reward for their home upgrades. Building your own wooden floating shelves requires securing every internal fastener tightly. A sturdy cleat prevents your display from sagging later. Encase your skeleton using thin timber panels on all sides. Sand every exterior surface to hide joint lines completely. Slide the finished sleeve over the wall mount for a clean fit. Your wall display will look like custom built cabinet work.
2. Mount Solid Planks on Heavy Metal Rods
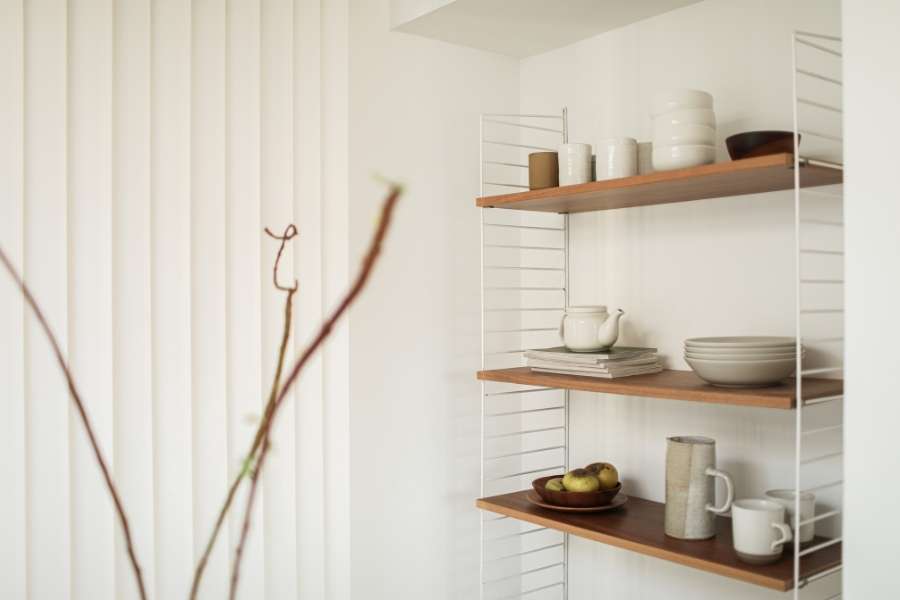
Do you prefer solid wood planks over hollow box designs? Heavy steel rods work best for mounting thick solid boards. This style uses steel rods fixed onto sturdy wall brackets. The prongs extend straight out to hold your timber. Finding the best wood for making DIY floating shelves depends on your taste. Hardwoods like oak offer great durability and grain. Softwoods like pine work great when supported by strong hardware. Slide your drilled wood plank directly over the steel rods. Keep your drill straight when making receiving holes in timber. A drill guide stops angled cuts from ruining your alignment. This clean minimalist look fits beautifully with Scandinavian design principles for creating bright functional living spaces. This method conceals hardware while showing off authentic natural wood. Your solid slab appears to float effortlessly on drywall.
3. Assemble Light Torsion Boxes for Long Spans
Thick solid wood planks can get too heavy for long spans. Torsion box structures fix this issue by saving overall weight. This design uses a light internal grid covered in thin wood skins. The grid maintains high strength while reducing heavy weight pulls. Building own wooden floating shelves with torsion designs protects your walls. You get thick dramatic profiles without risking structural damage. Assemble a light interior grid out of thin wood strips. Glue top and bottom wood panels over the internal grid. The finished unit resists twisting and sagging under heavy loads. It stays easy to lift and position during wall installation. Cover exposed edges using solid wood strips or matching trim. This step creates the seamless look of a solid wood beam. It works great for long display ledges across wide rooms. Your space gets bold architectural lines without extra bulky weight.
4. Combine Wood with Industrial Pipe Supports
Mixing raw wood textures with metal hardware creates bold style. Steel pipes insert into holes along the back of your board. This hybrid approach carries heavy weight while adding industrial charm. It offers a strong modern look for any living area. Selecting a pine board helps keep your material expenses low. Soft pine cuts easily when routing channels for mounting plates. Mounting own wooden floating shelves with pipe supports yields impressive strength. You can hold heavy kitchen jars or book sets safely. Locate your wall studs using a reliable digital stud finder. Always pre-drill pilot holes to avoid splitting internal house framing. Secure your steel pipes firmly into the wall studs with bolts. Slide your prepared wood shelf onto the pipe supports easily.
5. Utilize Corner Ledges to Maximize Small Rooms
Unused corner spaces offer prime room for extra storage options. Corner ledges attach to two walls at the same time. This dual wall connection spreads load weight across multiple points. It provides an extra stable platform for plants and books. Mounting corner ledges needs support strips along both wall faces. Check that both sides sit level before driving final screws. Knowing how to install floating shelves on drywall securely requires sturdy wall anchors. Toggle bolts work great when studs are unavailable. Cut your shelf boards using a precise forty five degree angle. Joined miter corners create a tight clean look for homes. Secure the corner joint with wood glue and pocket screws. This smart layout turns awkward blank corners into useful storage.
Sand and Stain Wood for Professional Results
Building your wall shelf is only part of the job. Adding a fine finish turns basic lumber into beautiful furniture. Skipping proper surface prep leads to uneven blotchy color stains. Taking time to sand well pays off with smooth surfaces. You must systematically sand and finish raw wood shelves before applying liquid coats. Move from coarse paper to fine paper smoothly. Start with 120-grit paper to smooth uneven joint lines. Switch to 180-grit, then finish with 220-grit for smoothness. Apply pre-stain conditioner when working with soft pine boards. Conditioner stops blotching and creates even stain color absorption. Pick a quality wood stain that complements your interior room lighting. Finish your project with two coats of protective clear polyurethane.
FAQ
What is the best wood for DIY floating shelves?
Oak, walnut, and maple offer great strength for heavy loads. Pine boards are budget friendly, lightweight, and very easy to stain.
How much weight can a floating shelf hold?
Shelves anchored directly into studs using internal cleats hold forty pounds easily. Quality wall fasteners keep your setup secure.
Can you install floating shelves without studs?
Yes, lightweight shelves work on hollow drywall with toggle bolts. Heavy items always require direct attachment into solid wall studs.
